Building a Darkroom - 1
June 2, 2015(Continued from ‘Building a Darkroom - Prologue’)…
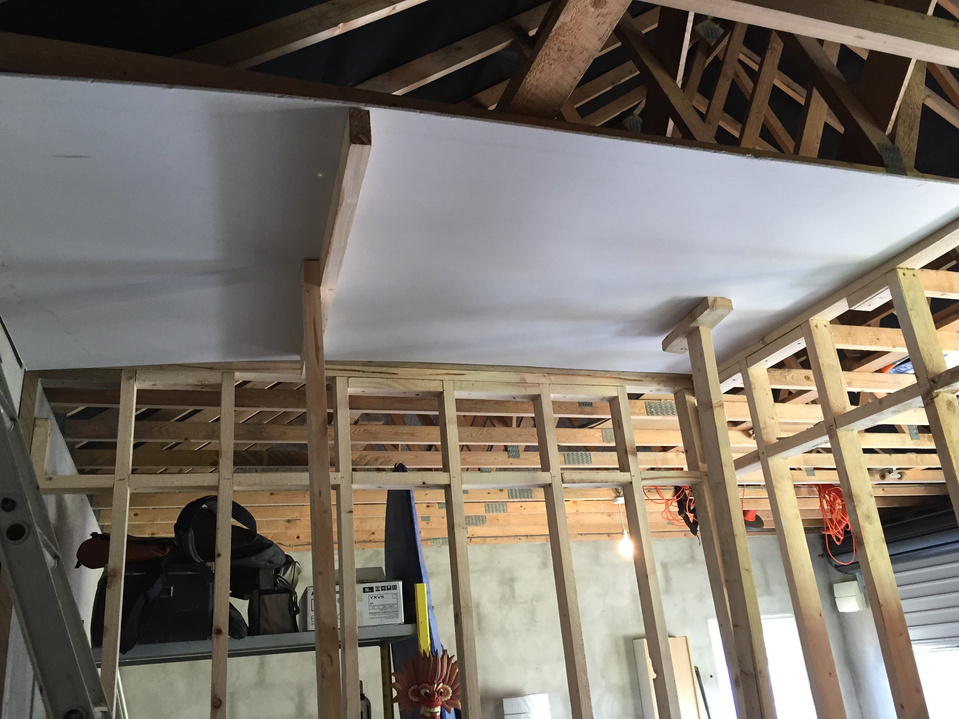
Once I had negotiated the location I began designing the space I needed. I was lucky enough to build it as big as I wanted to and designed the room around 3 fairly large trays (16x20) along one side, a small sink (wet area) and a work bench housing the enlarger, with the possibility to add a second beside it if needs be (the dry side). The good thing was the space is easily 10ft high so I knew it would feel roomy inside - and be good for fumes.
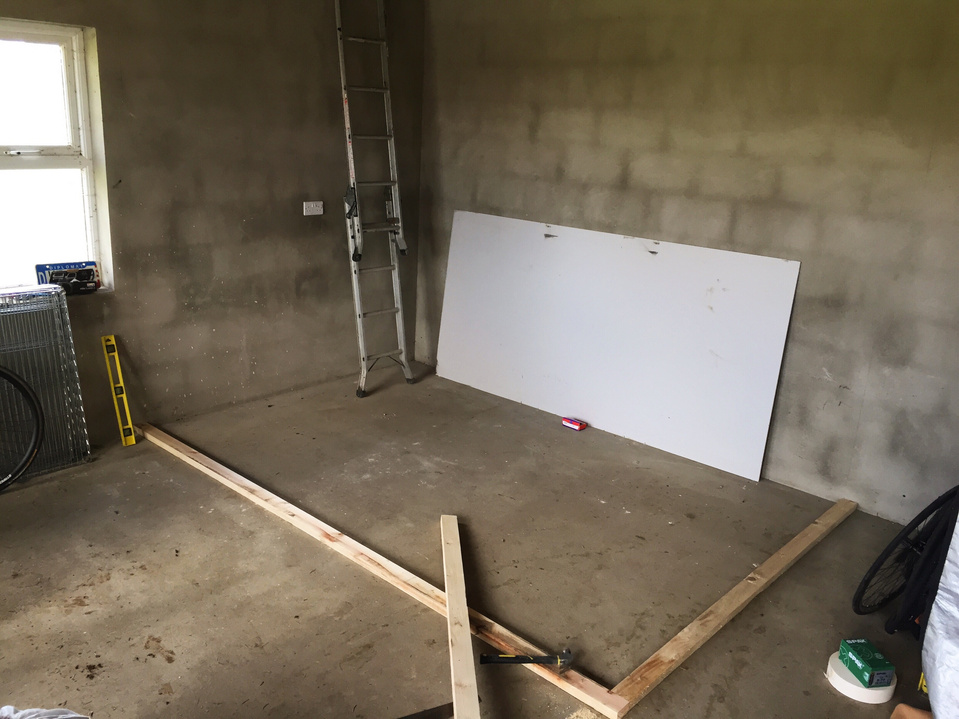
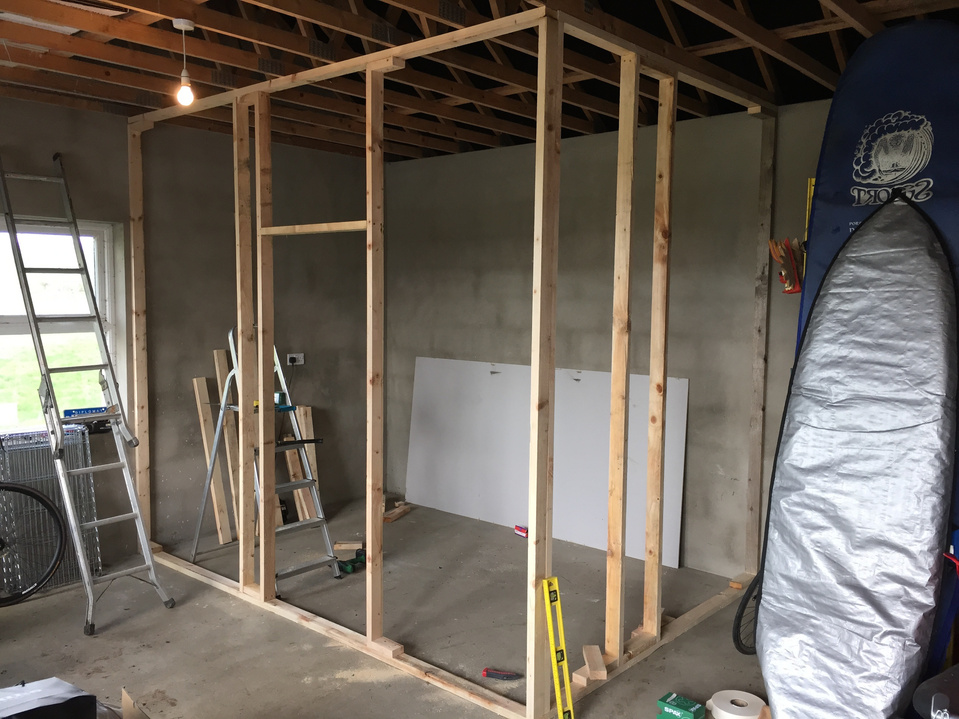
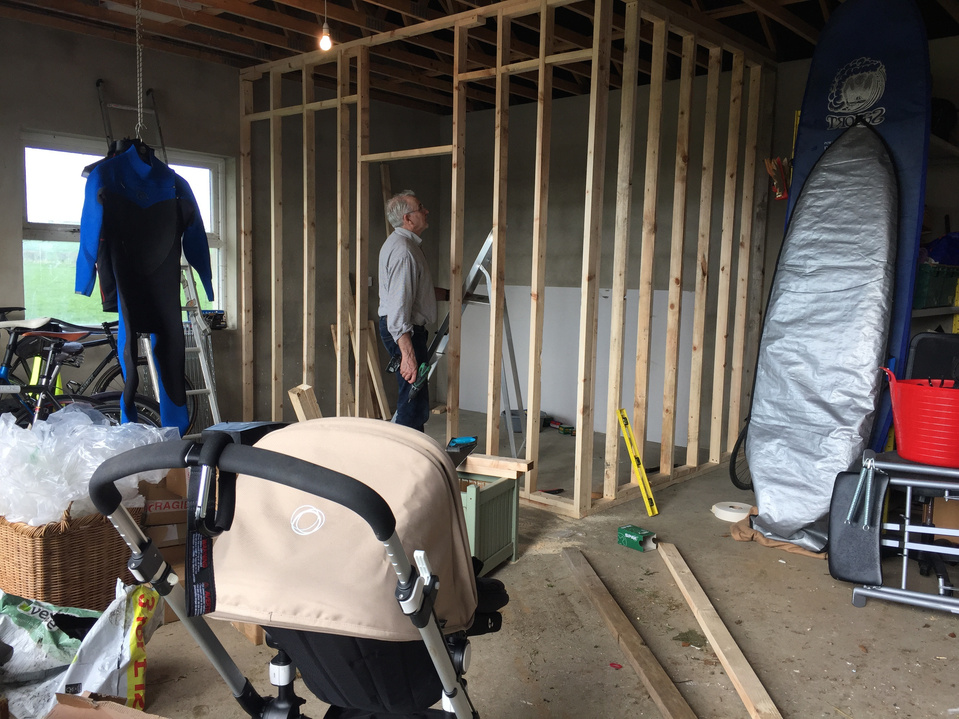
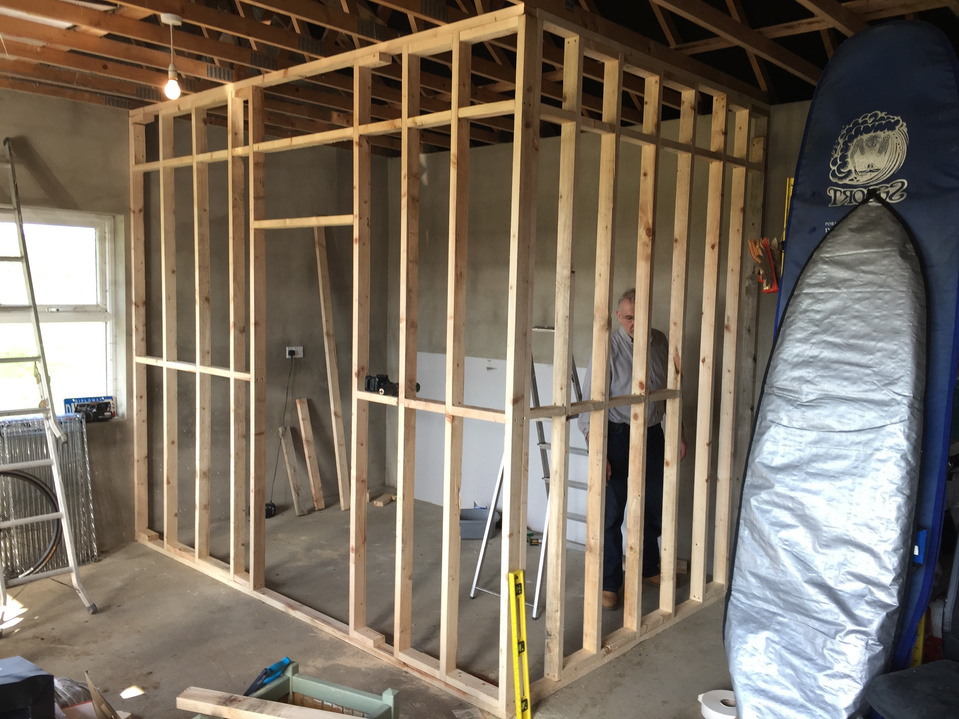
Like I said in my last post, I am total noob when it comes to DIY and building in general. I wanted to build this room correctly and ensure it would last for some time - so I was glad my Uncle was onboard. I sounded out my opinion on the dimensions and layout and we made a slight tweak - moving from a galley style to an L shape layout which utilises the space a bit better. We measured it up and he suggested what materials and lengths we required. We used 2x4 lengths of wood and dry wall sheeting which I bought from a local builders yard. Dry wall sheeting is an absolute nightmare to work with, it does cut really easily with a handsaw but is so cumbersome and fragile, you can put your foot / hand / forehead through it really easily. Fitting the ceiling was the most awkward. Wrestling large ceiling sheets into position without breaking them up to the 10ft level took some effort and left us both looking like we had been in a fight with Pablo Escobar. Some ingenious ‘wedging’ techniques applied and we were off.


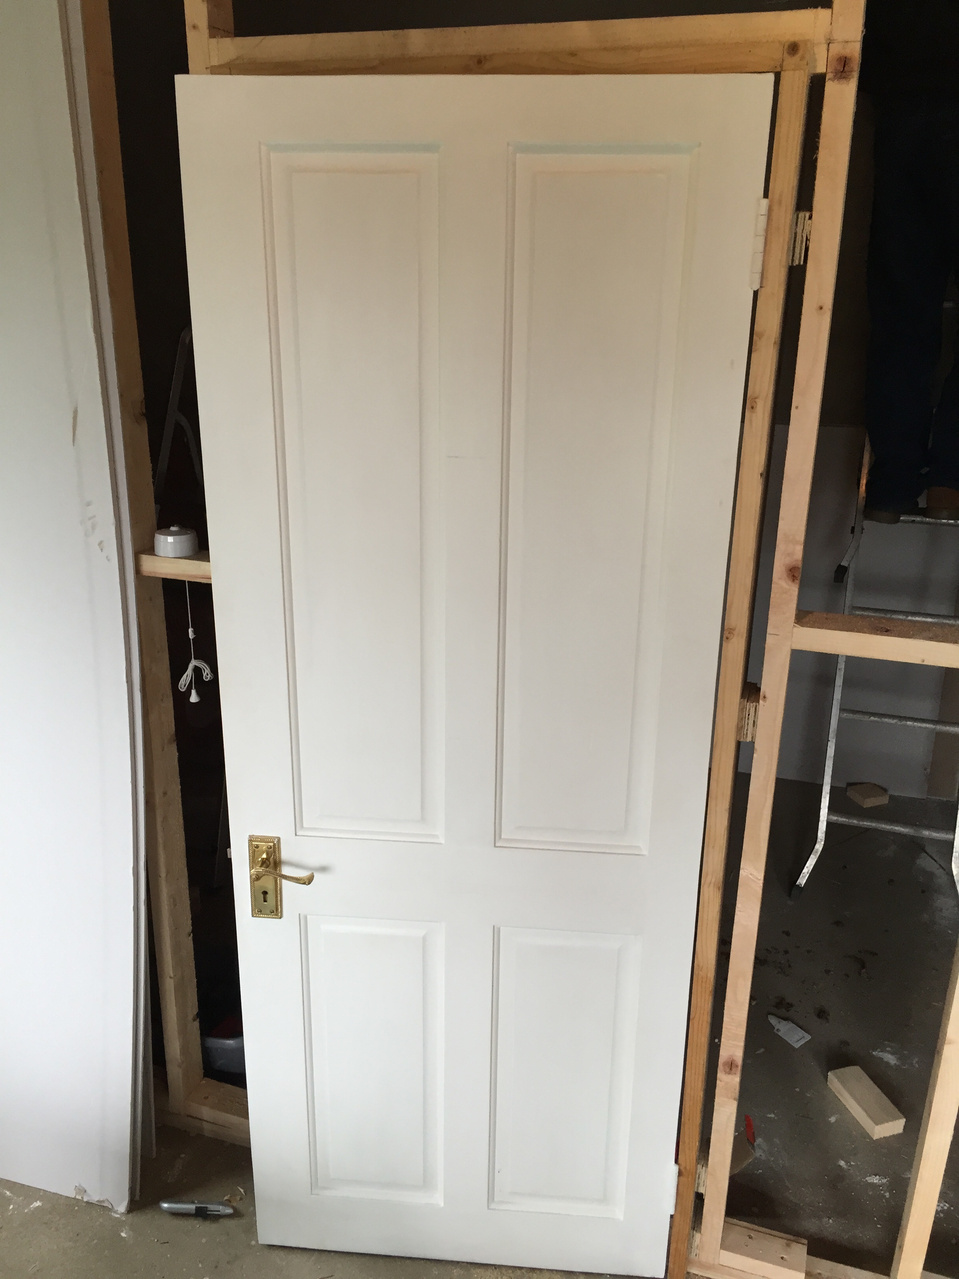
Once the wall frames were constructed we built an entrance using an old door, this was the technical bit that I had no clue about and was happy my Uncle was showing me what to do. Obviously the thing needs to be light proof so it had to fit like a glove. We built the frame to fit the door and with a bit of tweaking managed to pack the door frame into the wall and get the door working well. We are planning to finish the door with a lip on the inside and some spongy stick-on seal to provide a good tight fit. The room was then sealed around the edges and some additional wood was used to cover joins. A light was fitted with a pull switch and some plugs were fitted in the new stud wall, so there are plugs at either end of the room an importantly right beside the enlarger. Getting there.


Next up I will be looking at plumbing (including drilling through the garage wall for drainage - something I haven’t told the Mrs about yet), air extraction, fitting out the work bench and building a darkroom sink using plywood and marine epoxy paint (another journey into the unknown for me). Thanks for reading!
-
-
Share